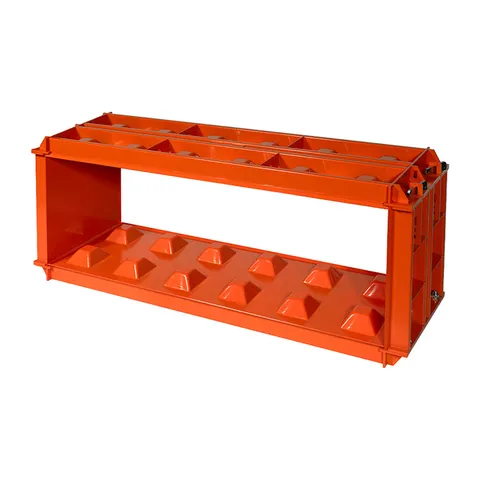
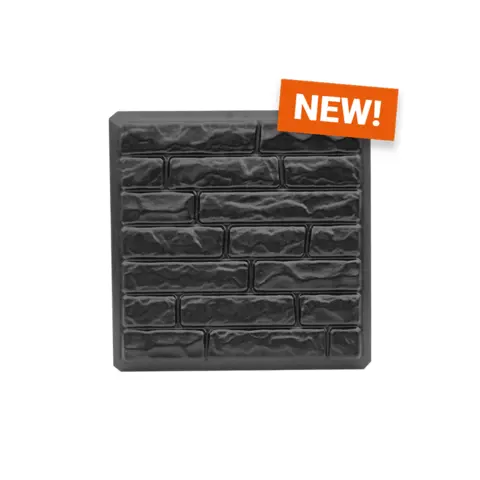
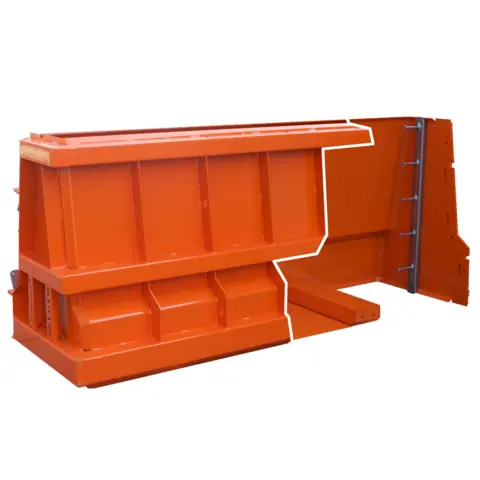
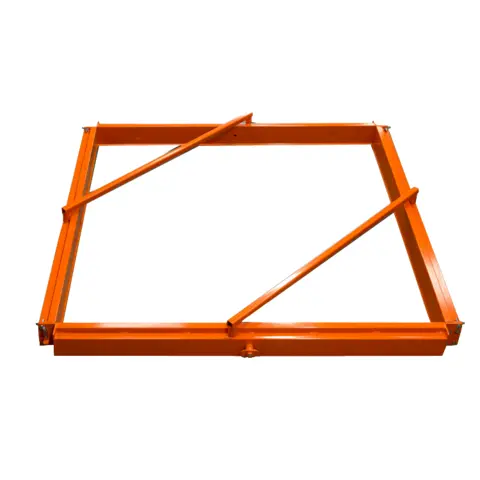
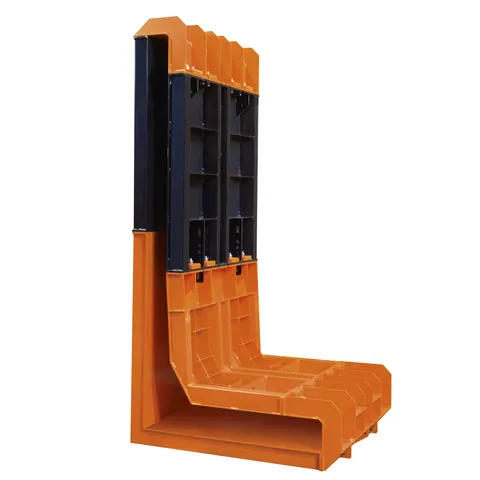
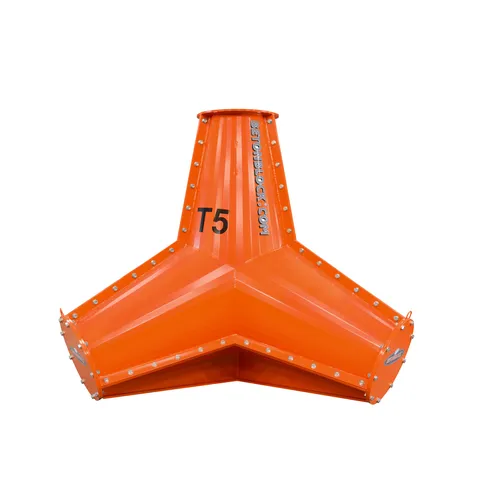
View step-by-step instructions for pouring concrete in the Betonblock® molds here. The Betonblock® system is very comprehensive and comes with all the products and accessories you’ll need.
Step 1: Place empty mold on a flat (steel) surface
First, the mold is placed on a flat surface, for example a steel plate.
Step 2: Applying oil to the inside of the mold
Mold oil (release agent) must be applied to the inside of the mold in order to facilitate removal of the block.
Step 3: Start pouring
The concrete is poured gradually to ensure a proper filling of all the nooks and crannies.
Step 4: Compact the concrete with the vibrating concrete poker
Alongside the pouring of the concrete the fresh concrete has to be compacted. This is achieved by using an immersion vibrator during the pouring process.
Step 5: Levelling
After the mould has been filled the concrete is smoothened with a trowel. Curing time is dependent on the concrete and external conditions.
Step 6: Removing pins and wedges
Step 7: Open the mold
After removing the pins and wedges, simply open the mold with the key and remove the walls.
Step 8: All done!
Once you’ve removed the mold, your Betonblock product is finished. Fast, simple, efficient and... always the same quality, size and shape!
Check out our video tutorial on pouring concrete blocks below:
We are ready for all your questions.
Call us at
+1 (786) 717-8096
on weekdays from 9:00 a.m. to 5:00 p.m.
or leave a message on our contact page
Betonblock uses cookies to make your web experience even better and more personal. Necessary cookies ensure the proper functioning of the website. We also use analytical and tracking cookies to show personalized advertisements based on your online behavior. Read more about this in our privacy statement. Click 'accept' to accept the cookies. Do you choose to reject? Then we only place the necessary cookies.